Is Changing Brake Pads Easy? DIY Guide, Tips & Common Mistakes
 Aug, 8 2025
Brake pads might not get the glory of a shiny paint job or a roaring motor, but your car’s stopping power totally depends on them. If you try to drive a car with shot brake pads, you’re basically playing with disaster. Here’s a wild stat: bad brakes are a factor in roughly 22% of car accidents caused by poor vehicle maintenance. So when someone asks, “Is changing brake pads an easy job?” you’ve got to take it seriously—it’s not just about saving a few bucks; it’s your safety on the line. The temptation’s there: grab a jack, wrench, maybe skim a YouTube video, and hope for the best. But how challenging is this job—and is it really something you can knock out in an afternoon?
The Real Story: What Makes Changing Brake Pads Easy or Hard?
First off, swapping brake pads isn’t rocket science. Car manufacturers actually design most brake calipers with DIY work in mind. The job doesn’t need special certification or a garage full of pro tools—just some basic hand tools and a safe way to lift the car. The most common way things go sideways is where folks rush or skip steps. If your car’s on the newer side, it probably uses disc brakes with floating calipers. This setup is everywhere: Toyota Corolla, Honda Civic, Ford F-150—they all run similar systems. Pop the wheel, remove the caliper, swap the pads, bolt it back up, and you’re golden. In theory, anyway.
The plot thickens with stuck bolts, rusty components, or seized calipers. If you live where winters get nasty, salt loves chewing up your undercarriage—rust won’t play nice. There’s also the question of your car’s make and model. Some European cars (especially older BMWs, Volkswagens) can throw you for a loop with sensors or weird caliper pins. If you work with a hybrid or anything with an electric parking brake? Stop right there. Electrically actuated brakes need special tools—trying to force them can fry the electronics.
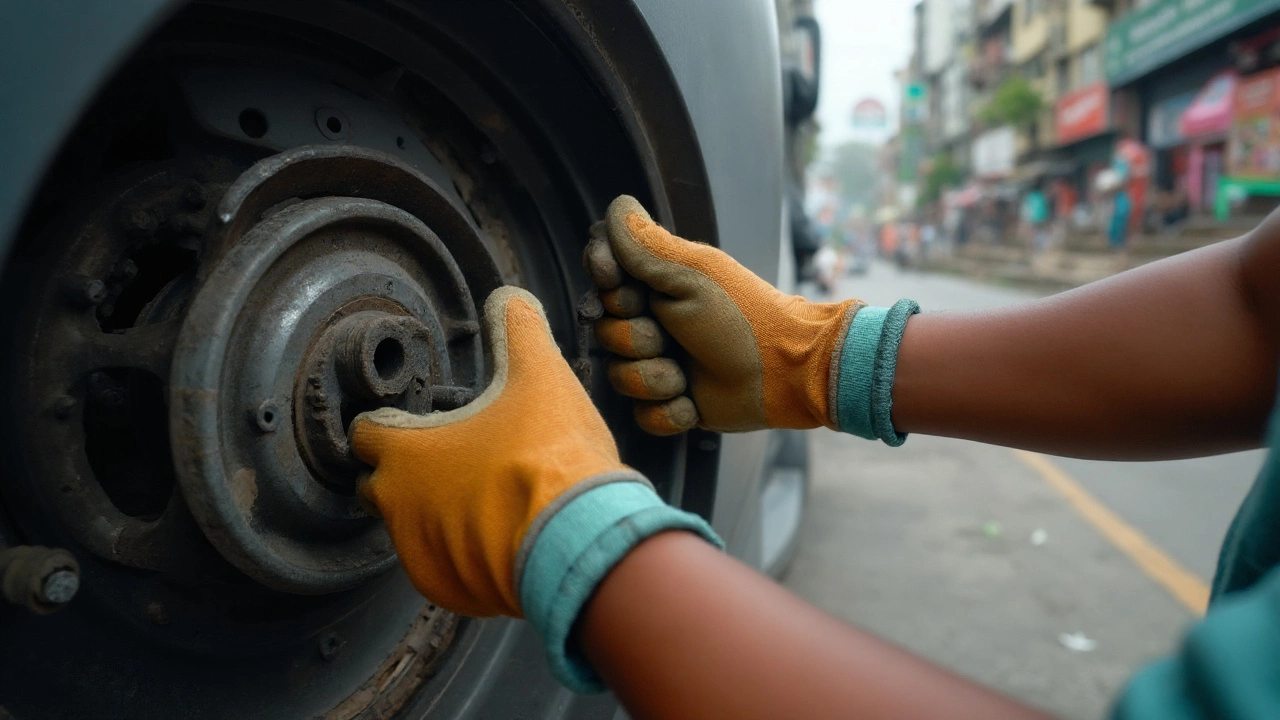
Let’s get real: patience is non-negotiable. You need a good jack, sturdy jack stands (never work under a car balanced just on a jack), a socket set, a C-clamp, and maybe a wire brush. Oh, and gloves are a total game changer—brake dust isn’t exactly spa-quality. If your last job was building IKEA shelves, sure, you’ll have to pay more attention, but changing brake pads doesn’t require mad skills. But you do need to do it right, every step.

DIY Steps: How It’s Done (And Where Do-It-Yourselfers Stumble)
Alright, down to the nuts and bolts. Here’s a step-by-step for the typical disc brake setup—front wheels, because their pads wear out faster due to their share of stopping power. Got rear drum brakes? That’s a different beast, but most modern cars run discs up front at least. Let’s break it down before we go full throttle:
- Park on a flat surface, engage the parking brake, and chock the rear wheels. Safety first—seriously, cars drop off jacks more often than you’d think.
- Loosen (don’t remove) the wheel lug nuts while the car’s still on the ground.
- Jack the car up using the proper jacking point, set jack stands under the pinch welds, and make sure everything’s stable before crawling around.
- Pull off the wheel. Now you’ll see the caliper, which straddles the brake disc like a big crab claw.
- Undo the caliper bolts—usually two per wheel. Some might use Allen keys, some a socket. Carefully slide the caliper off, but don’t let it dangle by the brake hose! Use a bungee cord or wire to hang it from the strut.
- The brake pads come out, and sometimes you’ll have to unclasp little retaining clips. Watch for the squeal indicator—a tiny metal tab that rubs the rotor when pads are worn thin.
- If you see grooves or blue spots on your rotor (or if a finger run feels like a speed bump), you might need new rotors, too. Replacing those is trickier but not impossible.
- Before you jam in the new pads, you have to compress the caliper piston—otherwise the new pads won’t fit over the rotor. A C-clamp works great for this. Go slow to avoid blowing out seals.
- Put the new pads in the bracket, re-mount the caliper, and torque those bolts to spec. No guesswork here—get the value from your owner’s manual or a reputable online source.
- Wheel goes back on, lug nuts finger-tight. Drop the car back down, then torque those nuts in a criss-cross pattern.
- Hop in the car, pump the brake pedal til it feels firm (the first couple of presses will go straight to the floor as the pads seat).
Here’s the spot where DIYers mess up: putting everything back together in the wrong order, forgetting to torque bolts, or not seating the pads outright. I’ve seen folks drive off with a caliper still swinging—yeah, the wheel locked up half a block later. You want all the hardware (clips, pins, bolts) secure, and double-check for leaks or weird pedal feel before you call it a day.
| Step | Time for Novice (mins) | Common Mistakes |
|---|---|---|
| Prep & Wheel Removal | 15 | Forgetting to loosen lug nuts before jacking |
| Caliper Removal | 20 | Letting caliper hang from brake hose |
| Pad Replacement | 20 | Not compressing caliper piston far enough |
| Reinstallation | 25 | Skipping torque check on bolts/lugs |
| Brake Pedal Pumping | 5 | Not pumping before driving |
Should You DIY or Pay a Pro? Key Facts and Handy Tips
No shame in handing brake repairs off to a pro, especially if you’re frustrated by stuck bolts or nervous about getting things just right. Professional shops can check for uneven rotor wear, seized calipers, or old brake fluid that might need flushing. Most pros can swap pads and rotors in under an hour, though your wallet will feel it—a typical pad-and-rotor setup in a modern sedan goes for $250-400 per axle in 2025, and it’s not uncommon to cough up double that for luxury brands or trucks.
But if you’re game to grab your wrenches, here’s how to keep things safe and drama-free:
- Buy quality pads. Cheap ones wear out faster, squeal, or dust up your wheels like crazy. Stick with a known brand—Akebono, Bosch, Wagner—don’t fall for bargain-bin no-names.
- Don’t just change one side; swap both sets on the same axle. Uneven brakes will pull your steering or wear out even faster.
- Any sign of fluid around the caliper? Stop. That usually means a leak in the system—a pro job, not DIY.
- Clean everything with brake cleaner spray, never compressed air. Brake dust contains some nasty stuff, and you don’t want it airborne.
- Keep hardware organized. A magnetic tray or muffin tin works wonders.
- Don’t over-torque. Most caliper bracket bolts take 26-30 foot-pounds; excess force can snap a bolt or strip threads. Consult your car’s manual (often online for free).
- If your car has ABS, don’t panic about pumping the brakes with the engine off—it won’t hurt anything. Just don’t drive off without firm brake pedal feel.
People aren’t always honest about time, either. If it’s your first time, plan for two to three hours, including wrestling with a stubborn wheel or bolt—especially if your car’s seen a few winters. With practice, the job speeds up. Some drivers claim they can change all four corners in 45 minutes flat, but unless you do this for a living, set aside an afternoon.
So, is changing brake pads an "easy" job? For most cars and most folks with a bit of patience, some tools, and the internet at their fingertips, it’s for sure doable. It’s not as simple as an oil change, but it's way less complicated than tackling an engine or transmission fix. And hey—there’s a weird satisfaction in hearing your brakes run quiet, knowing your own hands kept the wheels turning and you safe. If you’re even a little handy and follow the steps, changing brake pads is way less intimidating than people make it sound. Just don’t cut corners, and never treat your brakes like an afterthought—that’s where DIY turns into TMI on your repair bill (or worse, an ambulance ride).